

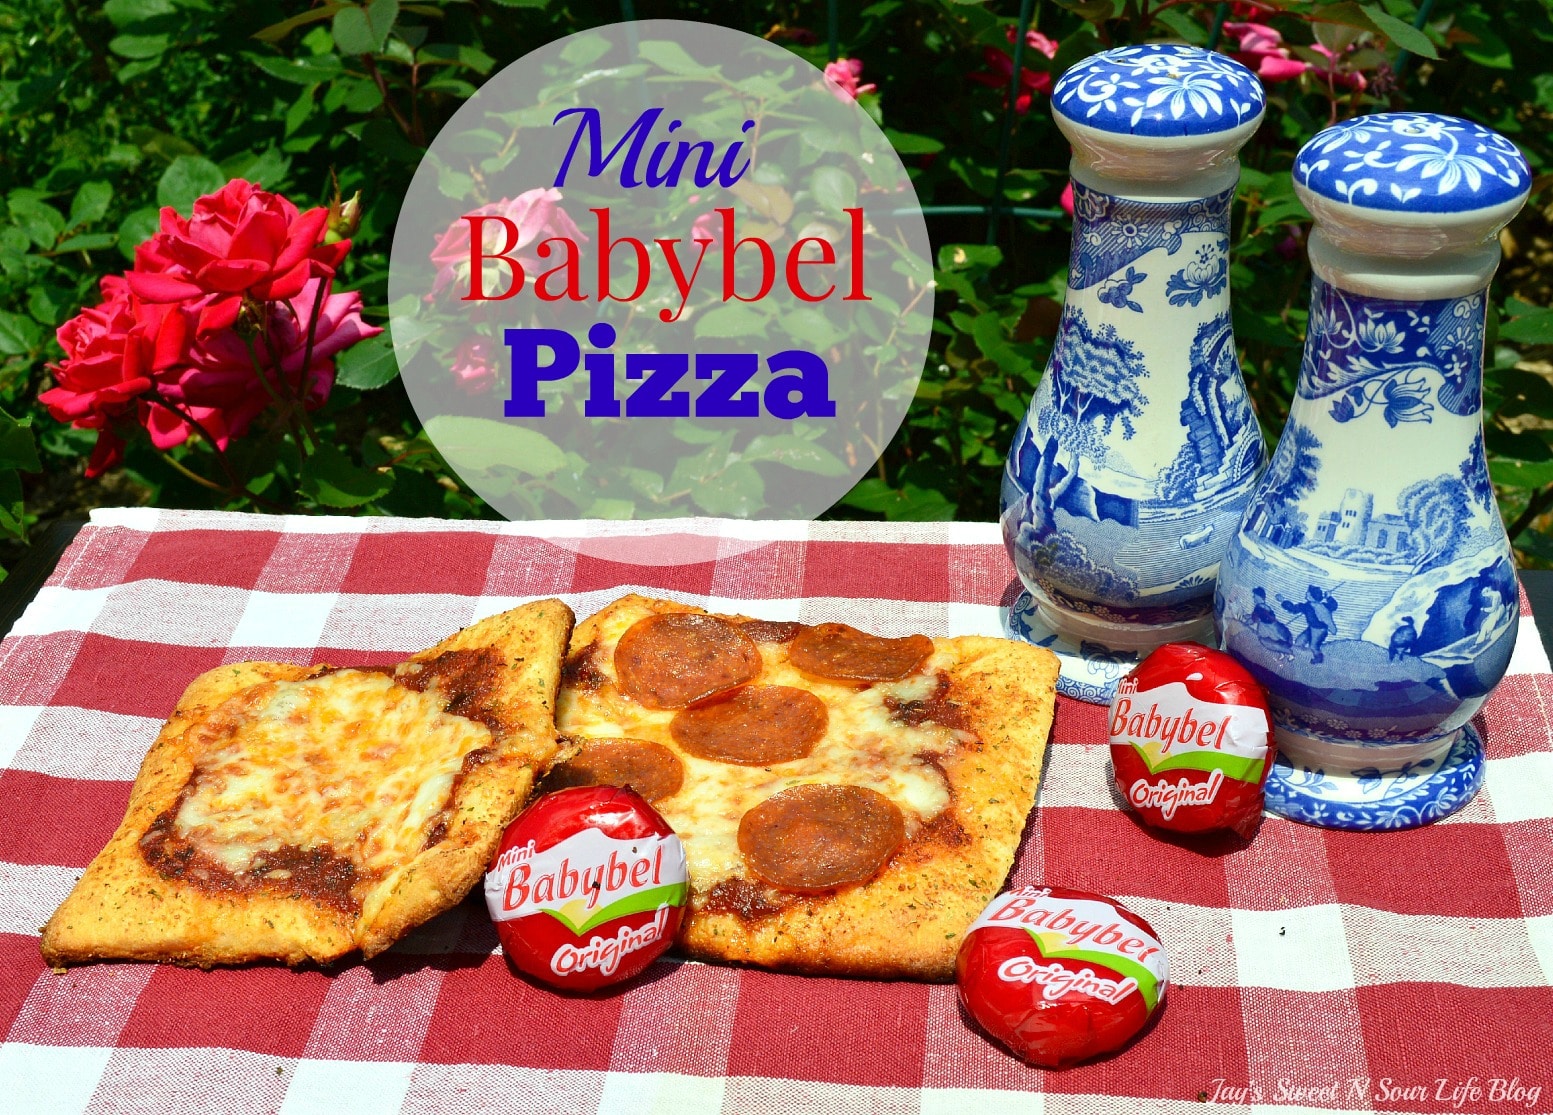
An easy mini pizza recipe that your kids will love! These delicious Mini Babybel Pizza’s are so much fun to make, just add your favorite toppings then bake and enjoy, it’s that easy.

Mini Babybel Pizza’a
Pizza is such a popular dish in my home I feel as though we cook it at least twice a week in my home. To mix things up I try to use different cheese to enhance the flavors. My kids usually complain about how they either want cheese or pepperoni, let me just say this switches up very often on who likes or dislikes the whichever.
So to solve this problem I came up with this Mini Babybel Pizza recipe, each of them gets to grate their own cheese and add whatever toppings they want.
Easy Mini Babybel Pizza’s
I love how easy this is to make, as well as how it’s perfect for those weeknight dinners. If you would like to save more time in the future, hand grate the cheese beforehand. Then just grab whatever you need whenever your kids are ready to bake.
This is a kid-approved/ kid-friendly recipe that this mom has tried and tested for over a decade! Fully customizable and perfect for any family.
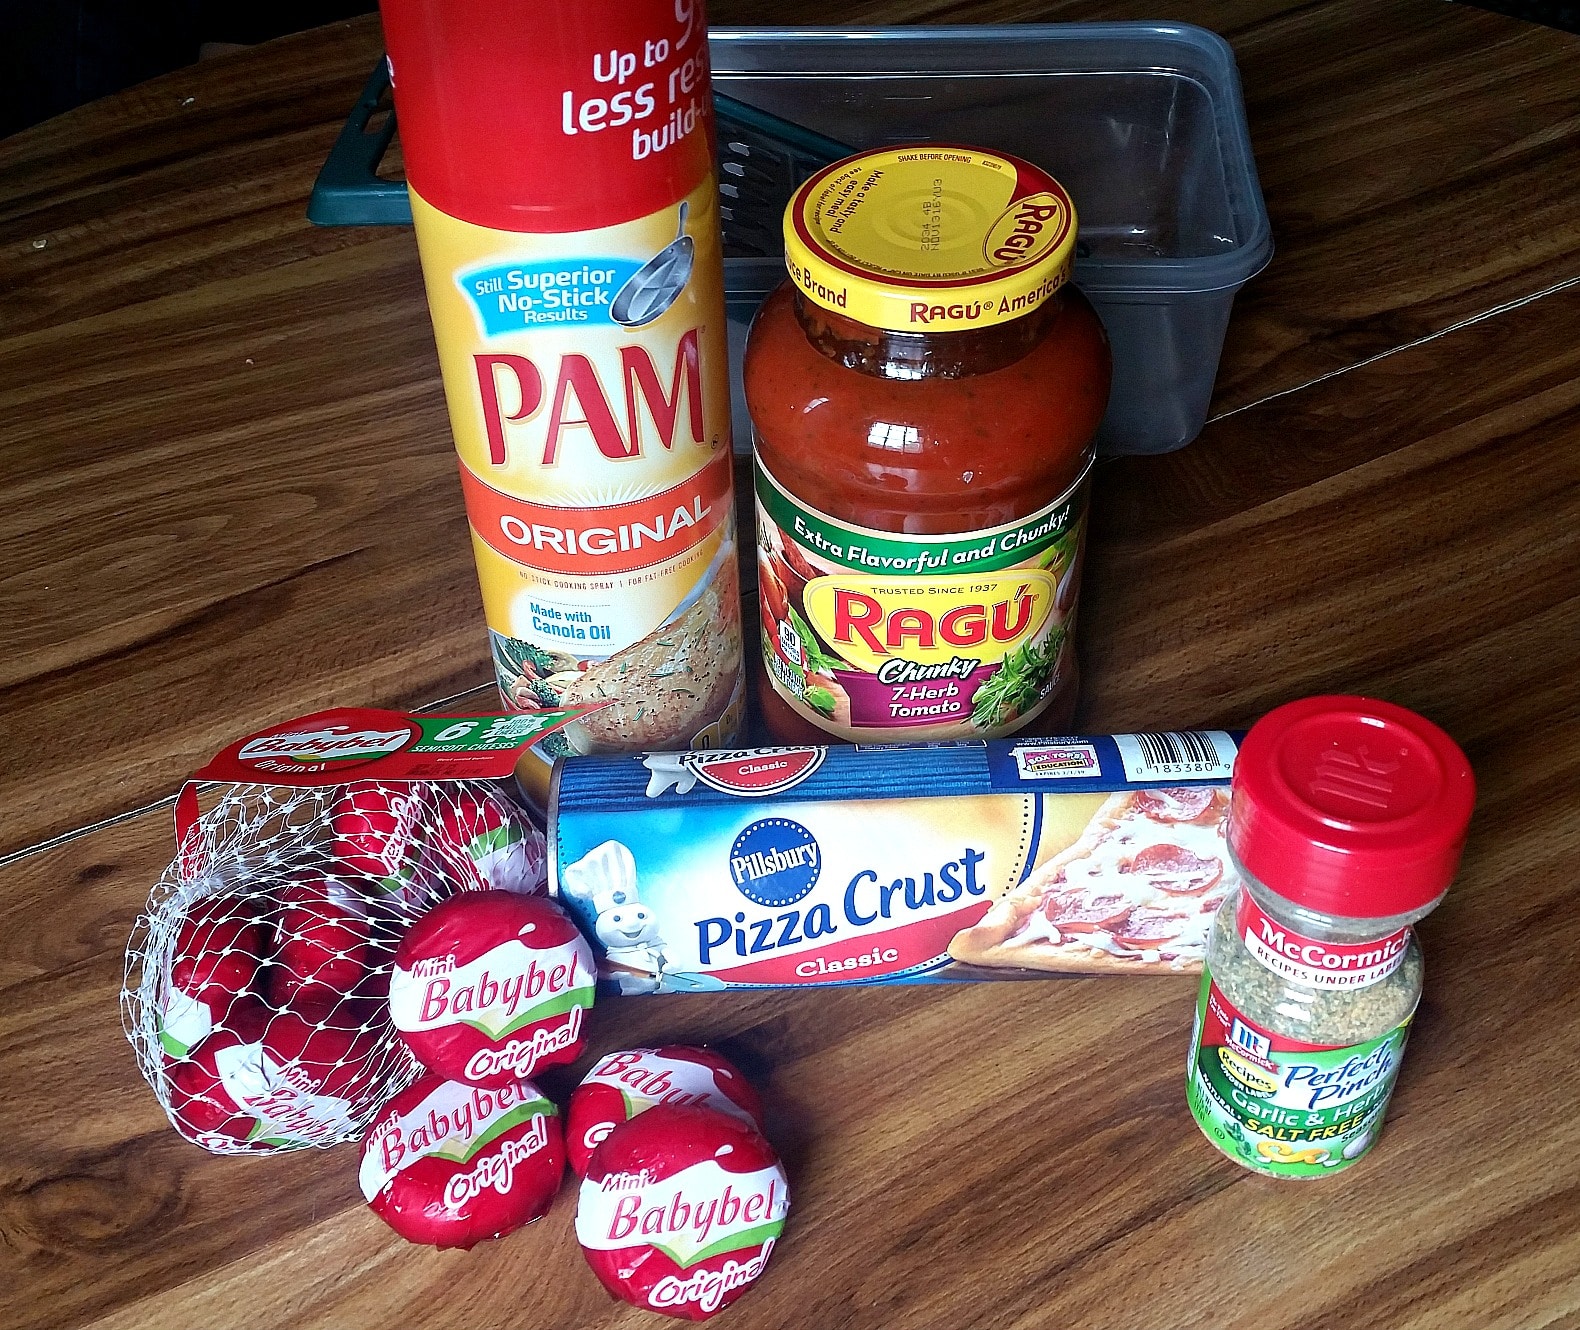
Mini Babybel Pizza’s Ingredients
- 10 Babybel Cheese
- 1 Roll of Pillsbury Pizza Crust
- McCormick Perfect Pinch Salt-Free Garlic and Herb Seasoning
- Your Choice Of Pizza Sauce
- Pam Spray
What are the best tools to use when making mini pizzas?
What are the best tools to use when making mini pizzas? The best kitchen tool you can use to make mini babybel pizzas is firstly a good cooking pan or baking sheet. Next, you will need a sharp knife, pizza cutter, and cheese grater. I’ve linked some of my favorite kitchen tools that I got from Amazon below if you were wondering what I use.
How to make Mini Babybel Pizza’s
After you have preheated the oven to 350 degrees, the first step is to grate the Babybel Cheese. Let the kids open and grate the cheese, it’s a lot of fun for them to do this and keeps them occupied. Make sure to explain to them to be careful and not grate TO HARD be SOFT and move fast. This will take a little bit of time but will be oodles of fun for the kiddos.
Spray the cooking pan with some PAM cooking spray, open and spread out the Pillsbury Pizza crust. Take out your knife and cut the crust into 6 even-sized squares and then separate them (they will expand when they cook).
Add Seasoning To Mini Pizzas
Season the squares with the McCormick Perfect Pinch Garlic and Herb’s Salt-Free seasoning to add flavor to the crust. This is optional and if you want you can switch out and substitute for your family’s favorite seasonings.
Add the pizza sauce (whatever sauce you choose) I choose to add the Ragu 7 Herb Tomato since I have veggies inside. It’s a fun way to add more veggies to my kid’s diets without them knowing.
Add Toppings to Mini Babybel Pizzas
This is a fun step for the kids where they can add as much cheese as they want to their pizzas. Be careful though and monitor the amount each pizza gets so that each of the pizzas has an even amount of cheese. Now it’s time to add your choice of toppings!
Add whatever you like and let the kids go crazy, add mushrooms, onions, spinach you name it! You are the chef and you get to decide what you would like on your pizza.
Once the oven has been brought to 350 Degrees pop your mini pizza’s in the oven, cook for 12 minutes or until the cheese is melted the way you like. Plate and serve your yummy pizzas! Serve with garlic bread or serve with a side salad.
Pizza Topping Idea’s
- pepperoni
- cheese
- sausage
- ham
- bacon
- buffalo chicken ( with blue cheese )
More Kid Friendly Recipes
If you love this mini pizza recipe then you will love some of my other delicious kid-approved recipes on my blog! Like my Easy Spicy Chicken Strips, or my Creamy Garlic Parmesan Shrimp which goes great with pasta! For dessert you can try some of these other wonderful recipes below.
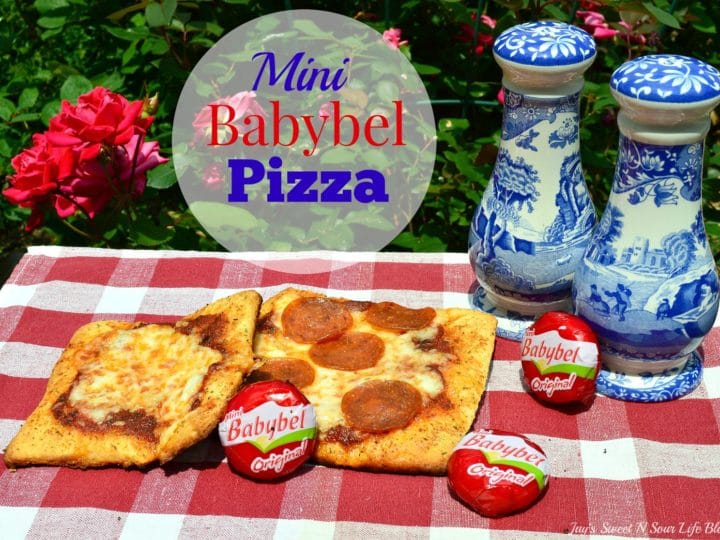
Mini Babybel Pizza
Ingredients
- 10 Babybel Cheese
- 1 Roll of Pillsbury Pizza Crust
- McCormick Perfect Pinch Salt Free Garlic and Herb Seasoning, optional
- You Choice Of Pizza Sauce, I used the one with veggies to sneak in more veggies in my kids diet
- 1 Can of Pam
- A Sharp Knife
- A Cooking Pan
Instructions
- PREHEAT THE OVEN TO 350 DEGREES
- The first step is to grate the Babybel Cheese, let the kids open and grate the cheese, it’s a lot of fun for them to do this and keeps them occupied. Make sure to explain to them to be careful and not grate TO HARD be SOFT and move fast. This will take a little bit of time but will be oodles of fun for the kiddos.
- Spray the cooking pan with some PAM cooking spray, open and spread out the Pillsbury Pizza crust. Take out your knife and cut the crust into 6 even sized squares and then separate them (they will expand when they cook).
- Season the squares with the McCormick Perfect Pinch Garlic and Herb’s Salt Free seasoning to add flavor to the crust. This is optional and if you want you can switch out and substitute for your families favorite seasonings.
- Add the pizza sauce (whatever sauce you choose) I choose to add the Ragu 7 Herb Tomato since i has veggies inside. It’s a fun way to add more veggies to my kids diets without them knowing.
- This is a fun step for the kids where they can add as much cheese as they want to their pizza’s. Be careful though and monitor the amount each pizza gets so that each of the pizza’s have an even amount of cheese.
- Now its time to add your choice of toppings! Add whatever you like and let the kids go crazy, add mushrooms, onions, spinach you name it! You are the chef and you get to decide what you would like on your pizza.
- Once the oven has been brought to 350 Degrees pop your mini pizza’s in the oven, cook for 12 minutes or until the cheese is melted the way you like.
- Plate and serve your yummy pizza’s! Serve with garlic bread or serve with a side salad.
- Enjoy
Steps 3-8 are lotsa B*
Hi Ryan, Thank you for your comment. My website went haywire and inserted a bunch of unnecessary information that wasn’t supposed to be there. I have updated the recipe so it is back to its original state. Thank you again for pointing this mistake out.
-Jay